Hexo on Netlify
Exploring the solutions available for hosting a static website or blog, Netlify will surely come up within the top results of your search.
And in fact it offers a whole bunch of cool features to ease your deployments:
- Global CDN & DNS: keep your latencies low all over the globe.
- Simple and efficient deploys: no more hassle pushing your content to production.
- Efficient cache control: don’t worry about invalidating caches manually anymore.
- Always available: a one-node breakdown won’t stop your content from being served.
But whoever read my previous post on Hexo and OpenShift will know that there’s still a lot of extra work that needs to be done in order to have a full-featured deployment online.
But not with Netlify.
Forget about 3rd party workarounds to obtain free SSL! Netlify gives you free SSL in just one click. No more CloudFlare bindings.
You can also have integrated DDoS protection. Guess what you’ll not need anymore, as above?
Netlify integrates another fundamental feature as well: redirect & rewrite proxy rules. I guess you’ll be able to get rid of basically every other service mentioned in my other article.
So, if I got you intrigued enough on the topic (or you’re just keen on testing new technologies, just like me!), let me guide you on how to move your blog from OpenShift to Netlify. I’ll assume that you already have a working instance on the former.
Since Netlify natively supports pulling content from both public & private Git repositories (GitHub, GitLab, BitBucket…) chances are that you already are half way to your goal: move the repo, set up your Netlify account, and deploy straight away.
Backups keep the world going
First off, make an archive of your whole Hexo folder. Backups never hurt.
1 | tar -czvf Hexo.tar.gz "YOURHEXOFOLDER/" |
Move that backup to a safe location (or, if you don’t really care, to RAM - /tmp) and let’s move on.
1 | mv Hexo.tar.gz /tmp |
Spring cleaning
Remove the OpenShift folder…
1 | rm -r .deploy_openshift |
…Followed by the plugin configuration - remove these lines from the _config.yml file…
1 | deploy: |
…And finally remove the OpenShift plugin altogether:
1 | npm uninstall --save hexo-deployer-openshift |
Now that you got rid of the unneeded material, generate a fresh content folder:
1 | hexo generate |
Migrate your content
Create a GitHub/GitLab/Bitbucket repository - refer to the their docs for further help - and obtain its URL.
Initialize a repo in the main Hexo folder, populate the ignore file, set the remote URL, and push the contents:
1 | git init |
In the future you’ll just need one command to deploy changes:
1 | git commit -a && git push |
Configure Netlify
Sign up for Netlify using your GH/GL/BB account or just your email, and create & configure a new site; grant access to your account and choose your newly created repo.
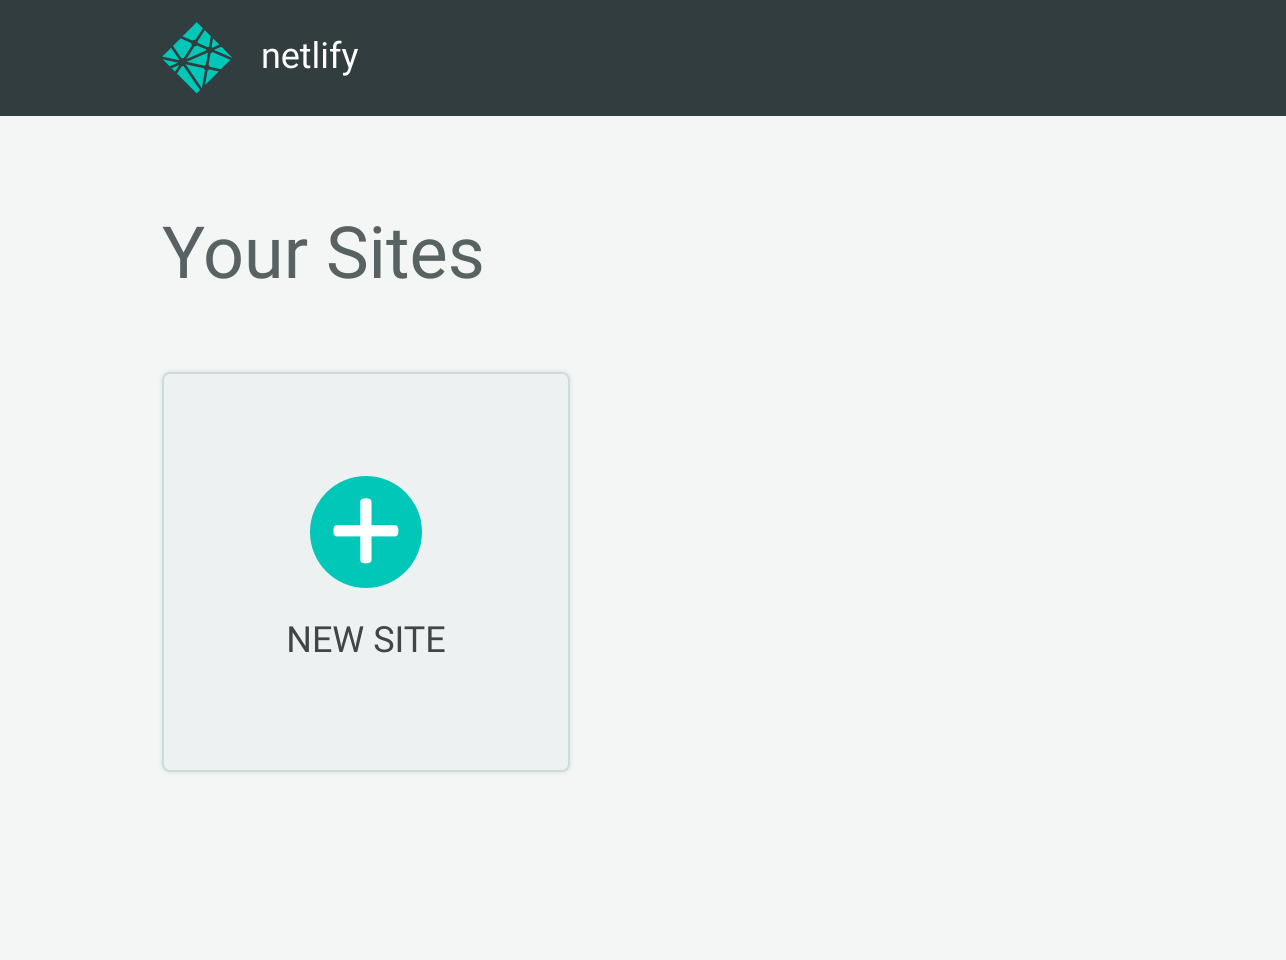
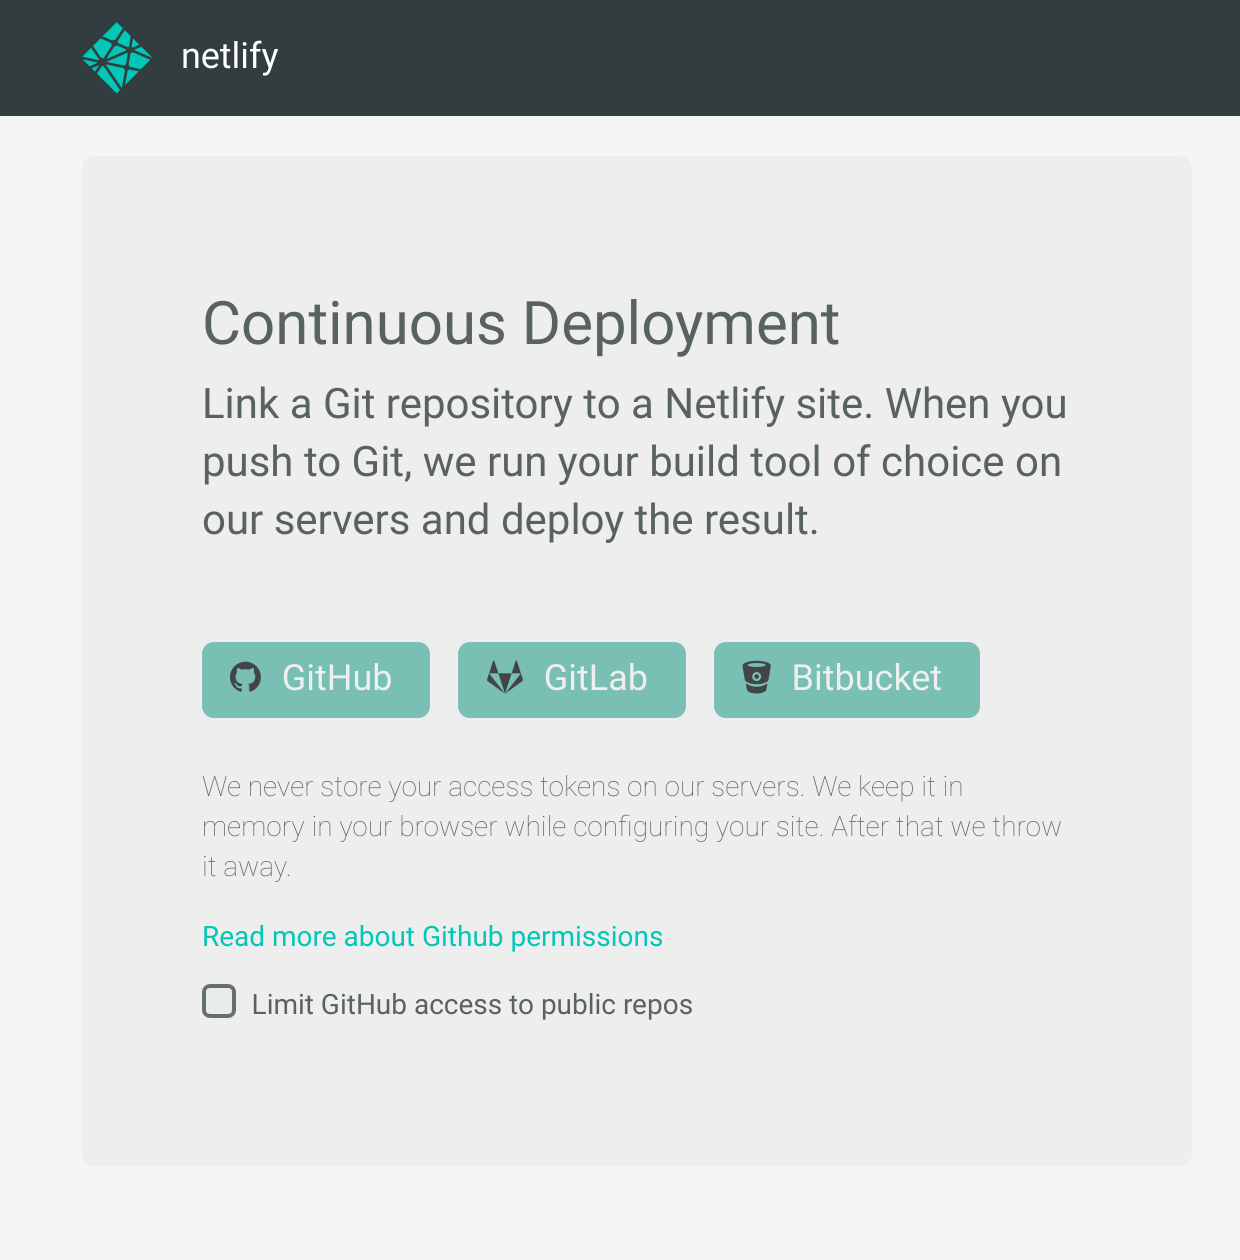
If you are worried of the permissions Netlify asks to access your GitHub (or equivalent) account, feel free to check out their explanatory help page.
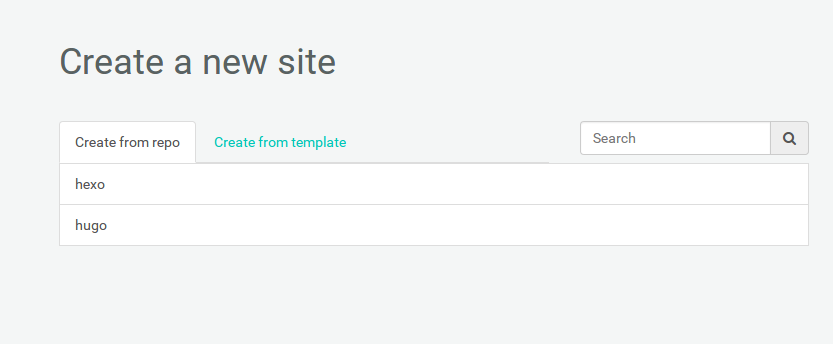
The last thing you have to configure is the assets directory and build command. Refer to the following image adjsting your branch accordingly:
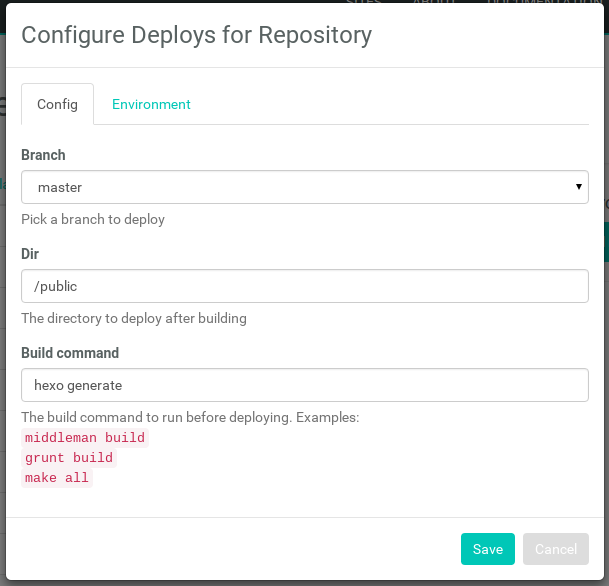
As soon as you confirm, you’ll be presented with a sweet interactive log that shows you the progress of the first build of your static site.
Feel free to get up and have a coffee, but don’t linger around the coffee machine for too long! It won’t take long at all for Netlify to present you the final stage of the build process: setting up your custom alias & domain name.
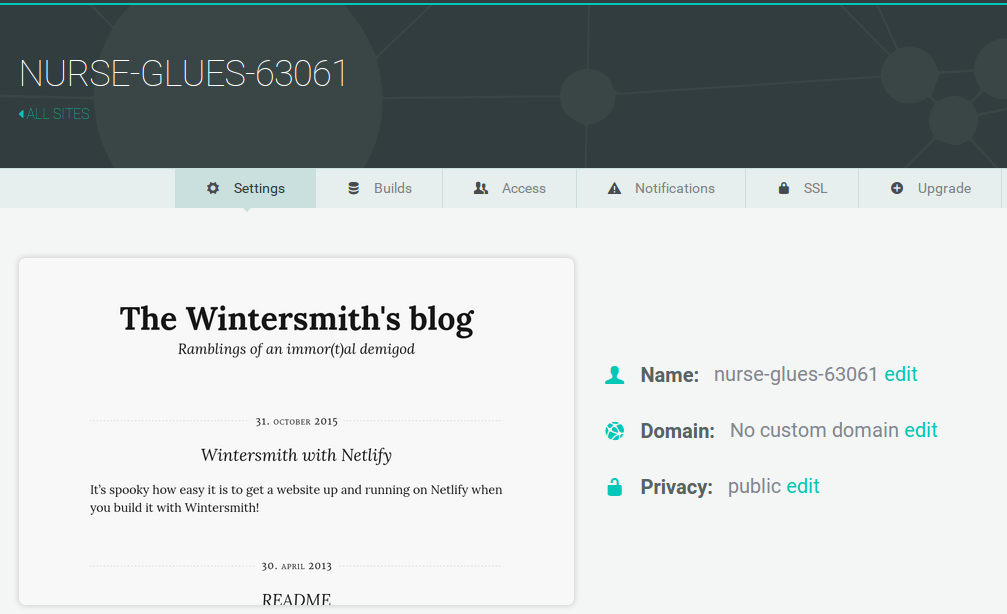
Aaaand you’re done.
Literally. That’s all you need to get a Netlify static site up and running.
You’ll get a streamlined and straightforward deployment process: make your changes, commit, and… nothing else. Done. Voilà. Magic. All clear. Bingo.
You won’t have to pester anyone about SSL and cache. You can get up and go work on something else. No need to setup any other external service. Why not spending the gained time in taking a look at the Netlify docs? There are a lot of interesting tips & tricks to read in there…
Don’t skip on Netlify’s official CLI tool as well, you could squish the two deployment commands in a single one. Damn, you could even assign that to a macro button on your keyboard. Boom. The “deployment button”.
Imagine that: you’re there, sitting in your chair, just finished writing that new article… Your boss comes in - “Hey, haven’t you published the article already?”. You could just look at him straight in the eyes and go like - “Did you have any doubts?” and slam the deplyment button straight away. Unbox Therapy style.
Did I mention that you can have automated deployment status notifications pushed directly to your smartphone thanks to Netlify’s integration with services like Pushover? How come you’re still reading here instead of tinkering with your new static site’s settings?!